Runestone Interactive
Developers
Help us build a system for writing and hosting interactive textbooks!
For everything, there's a lot of work to be done. Join our actively growing development community -- read below to learn about how to get started. The work you do as a Runestone Interactive developer will help thousands of students and their instructors around the world.
Our Structure
There are a number of different ways to get involved with Runestone Interactive development. For example:
- Developing and changing the Runestone Components (more info at that GitHub repository), which are additions to reStructured Text that allow authors to add code exercises in a Runestone Interactive online textbook.
- Developing and working on the Runestone Server (more info at that GitHub repository), which allows us to serve interactive textbooks in a useful, secure way. There are also many possible integrations with the Runestone software. Join the discussions!
- Developing the existing test suite, for both the Runestone Components and the Runestone Server.
- Writing additional documentation, and/or editing existing documentation for clarity.
- Developing and editing more open source textbooks! Check out the library of books we host and the information for instructors for more information.
It'll be helpful to learn...
- Python! A lot of the development of Runestone Interactive is in the Python language. It is currently in Python 2, but all code written should be 2/3 compatible. (The
sixlibrary, which helps with this, is a dependency of all Runestone-related repositories.) - Virtual environments for development in Python, which will help tremendously with development, especially if you work on several different aspects of the Runestone project (or other large Python projects like this)
- JavaScript! The RunestoneComponents are powered in large part by JavaScript (but there's also Python, HTML, etc).
- Git and GitHub, which we use for version control and development. GitHub has some great tutorials to help getting used to using Git and making pull requests in order to make contributions.
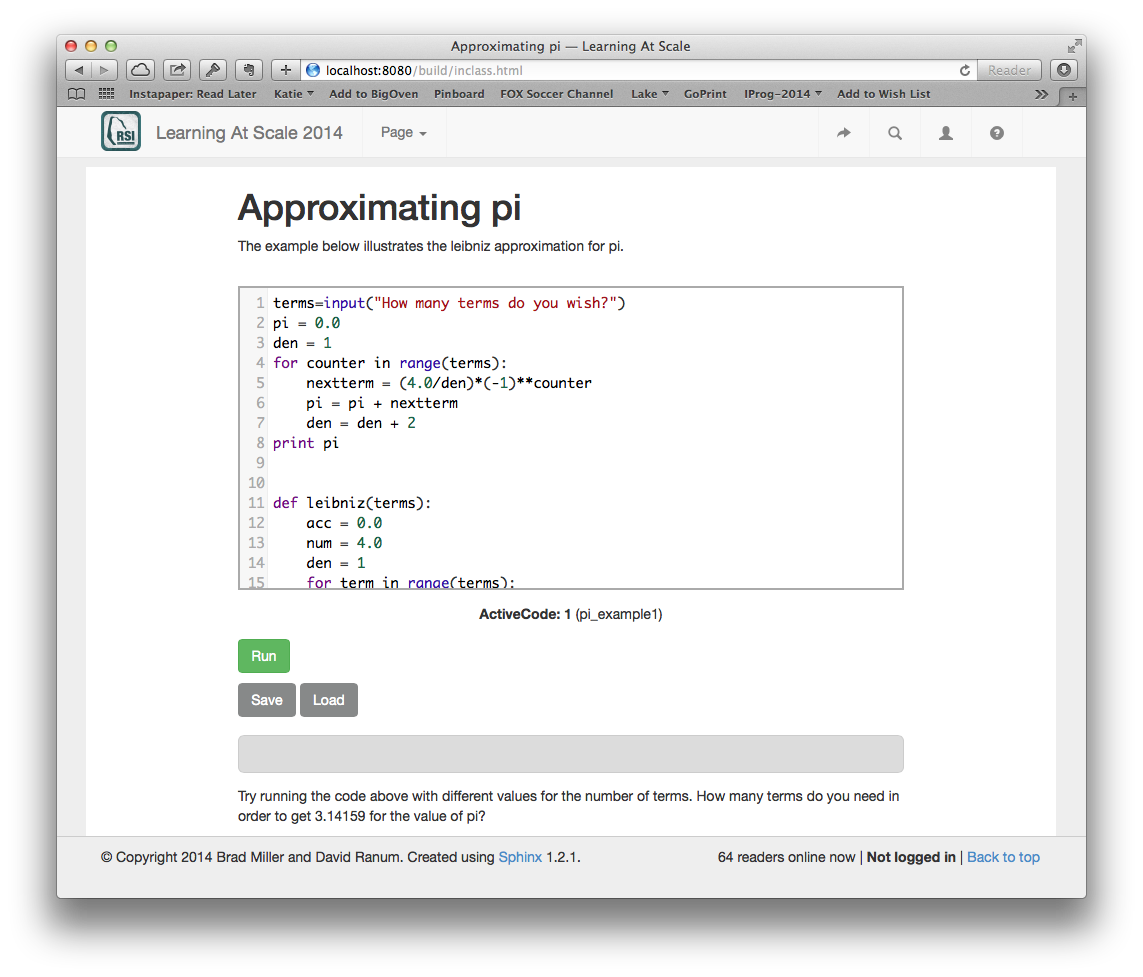
The Runestone Components are additional reStructure Text directives that allow authors to create things like this, which the Runestone Server allows us to power:
Getting Started with your Runestone Development Environment
- Set up a virtualenv for Runestone work
- There are a number of dependencies, and this will make it easy to complete the installations for Runestone development.
- Install the development version of Runestone Components
- The RunestoneComponents GitHub repository's readme has a bunch of information about how to do this. This is the first part you should install. You can stop here and look at that README if you don't want to do any development on the server.
Runestone Components itself is in PyPi asrunestone, so you can install it with pip, but if you're working on code development of anything for Runestone Interactive, you'll likely want to be able to interact with the code and see the development versions. Activate your virtual environment, and fork and clone this repository. - Install Runestone Components and its requirements
- With your virtual environment activated, access the root of your Runestone Components directory, and run
pip install -e {path to your clone of RunestoneComponents}
Then, with your virtualenv still activated, navigate to the root of your RunestoneComponents directory and runpip install -r requirements.txtto install all Runestone Components dependencies. - Install the web2py application for the Runestone Server
- The Runestone Server is a web2py application, so you first need to download web2py. You should download the .zip file of source code from here (if you get web2py from apt-get or GitHub, you may miss some of the necessary submodules).
Next, follow the instructions for the Runestone Server, starting with navigating toapplicationsinside theweb2pydirectory, and forking and cloning the Runestone Server repository there, with the namerunestone.
The Runestone Server README provides instructions for how to do that (but be careful that you clone your fork, so you can make pull requests. If you copy directly from the README, you'll clone the RunestoneInteractive version, not yours).
You'll also need to have installed all of the server's Python dependencies in your virtual environment, so, navigate to the root of your newrunestonerepository, which should be atweb2py/applications/runestonewith your virtualenv activated, and runpip install -r requirements.txt.
The Runestone Server README also includes instructions for how your installation process should vary depending upon your operating system (Windows, Linux, Mac). - Install and set up your database
- You'll need to install the Postgresql database server. Instructions for doing so are included in the server README as well if you have not already done so. You can find instructions about how to do so on the Runestone Server README. (If you use a Mac, we recommend using Homebrew to
brew install postgresqlrather than using the Postgres app.)
Follow the instructions in the Runestone Server README to create and set up your database. If you can't runlocalhost:8000/runestoneyet, no fear -- go on to the next step! - Choose and build a book
- The Runestone Server, combined with the Runestone Components, power the interactive textbooks that Runestone Interactive is made for. Choose a book to start with (e.g. the thinkcspy book, or any other you find the repositories for from the library, and fork and clone that book repository inside the
web2py/applications/runestone/booksdirectory.
Then, navigate to the root of that book directory, with your virtualenv still activated, and runpip install -r requirements.txta last time. This will install all last requirements for building the book so you can see it rendered and deploy it properly.
Finally, in the command prompt, export your environment variables, so that your database access will work when you build a textbook -- this saves e.g. question data to the database, etc. Type the following at the command prompt to do so:export DBNAME=runestone export DBPASS=yourpassword export DBHOST=localhost export DBUSER=yourusername ((NOTE: could be "postgres", depending on how you've done your db setup))Then, runrunestone build. To see the book properly built when you run the web2py server, after you run the runestone build command, you'll need to runrunestone deploy. - Finish setting up your database as needed
- Follow the instructions in the Runestone Server README to complete your database setup. (If you run into any problem with "The Easier Way", The Harder Way" the README explains is not too hard! Just make sure you follow the instructions carefully.)
Important note: If at any point in the process you had database trouble and dropped a database to start over, make sure you've also removed everything in thedatabasesfolder! Otherwise, Runestone won't know that it needs to create the tables again... - Get started!
- You're all set! Check out the issues on the Components repository and on the Server repository. If you want to get started building the components test suite, check out the instructions in the Runestone Components README. You can also join the mailing list!
More Information
- We have a full set of developer docs here
- For a quick reference when authoring content, writing tests, or otherwise working with the Runestone Components, type
runestone help listorrunestone help directivenameFor example:$ runestone help codelens .. codelens:: uniqueid :tracedata: Autogenerated or provided :caption: caption below :showoutput: show stdout from program :question: Text of question to ask on breakline :correct: correct answer to the question :feedback: feedback for incorrect answers :breakline: Line to stop on and pop up a question dialog :python: either py2 or py3 x = 0 for i in range(10): x = x + i - Check out this Demo Site to see a bunch of the available components in action.